23/09/2019
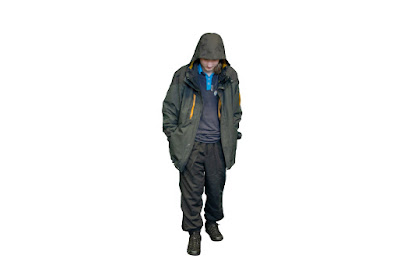 So there is me cut out from the green screen using lasso tool to take out wost unwanted staff and then magic wand to get rid of the green screen completely but the problem is that the green screen is not going to the button under my shoes so I had to use polygonal lasso tool to cut out the floor bit by bit. Also colors and tone was changed before cutting it all out.
Today's Photoshop Work
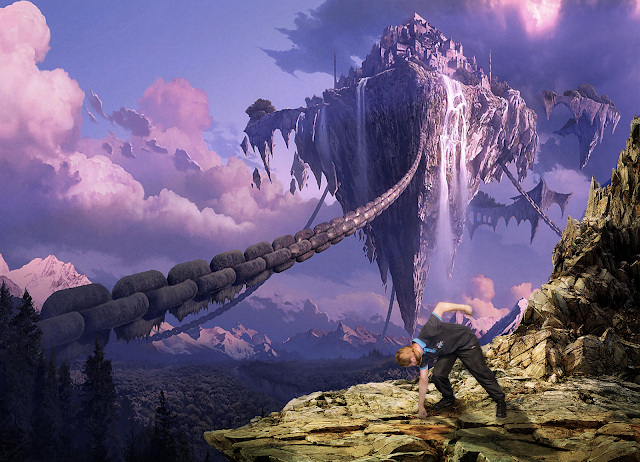
As you can see I have cut out the clouds using polygonal lasso tool and I was going to put something into that space but there I couldn't find any good picture that might fit in, so I have done this on the end:
I have literally cut out everything but the rock and me. I have done this because I did fund a good landscape picture that fits quite good with this cut out and also looks very fantasy and cool.
So there is the picture I have talked about but to fit me with a rock I will have to scale down me and the rock so it looks appropriate and doesn't take too much space, but so at the same time it gets the impression of natural occurrence.

Obviously it doesn't look natural neither similar but I decided to leave this image for now and start doing second picture where I came up with a great idea after finding a perfect landscape.
Project Nr.2
The is the landscape I was talking about and my idea was about be walking away seeing only my legs from the planet fall so it looks like it was my doing with weapon attached to me also with some items just like the one I cut out on the beginning of this blog.

"Me" will have to be scaled quite a lot so it fit to the environment of the landscape but also there are only my legs seen.
That's me pasted into landscape and scaled but I will have to make it more realistic by adding some effects on me.

First effect I have added was Color Overlay, it blend object with given colour which is reddish color in this situation because the landscape is more of red/black colour.I blended it with Opacity like about 10% to make my legs more red but not too strong. So now I looks like that:
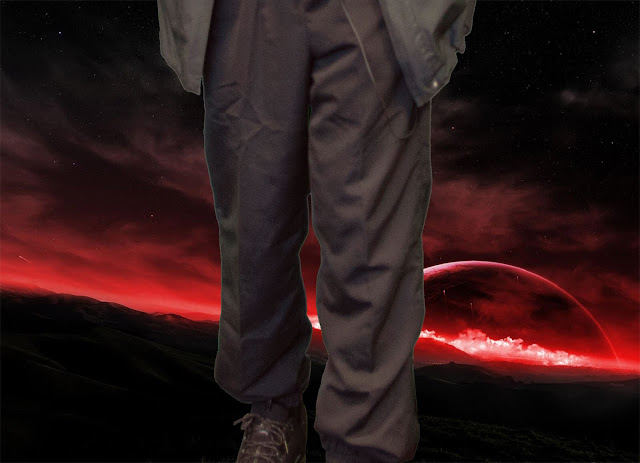

Second effect That will be used is Satin as I have noticed it make a shadow in given vector and object, it works similar to the gradient tool; because my character is going away from light then I should be more dark from the front than on the back and the corners of my body and clothes.
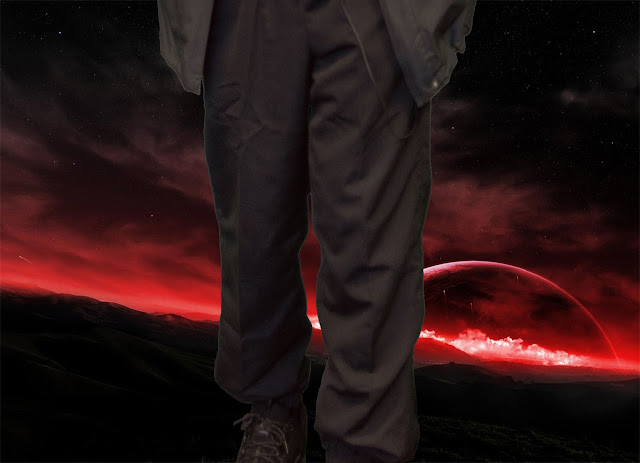
That's how it looks like after adding Satin effect, in my opinion it looks much better.

For a Satin effect there was a few options that were important for example the Invert was ticked so the light would go into me and my clothes and not from inside out. Opacity controls strengths of the shadow and the angle control from side the light should go in the most. Distance and size I just had to adjust them so it looks good.
Last effect is Inner Shadow that I have used for myself to get rid of green reflection on the corners of me from green screen.
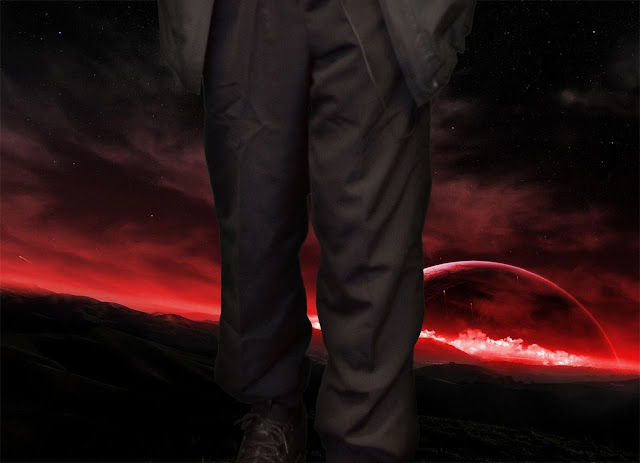

I had to give quite high Opacity to make sure that there is no green or light reflection that looks unnatural.
Now it's time to start to put in objects into the picture. First object is going to be scythe to make the scythe more fantasy I will add effects: Outer glow and Color Overlay.
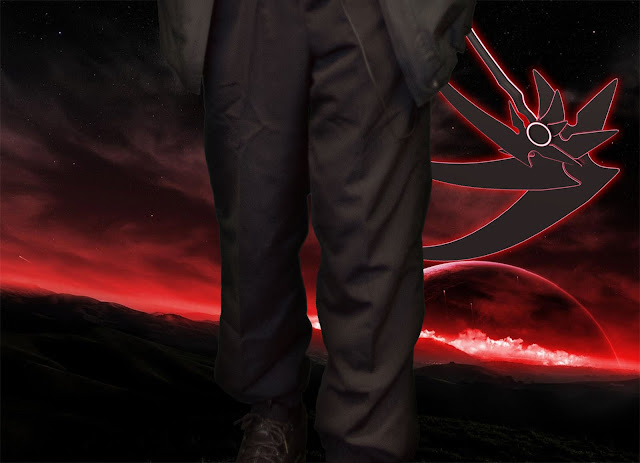
I used Color Overlay to make the scythe more reddish so it fits to the environment and as you can see above that Outer glow makes the scythe glowing all around it.

I tried to used red as little as possible on the scythe but still visible so after use of the outer glow it will not look too red.

Next object that I will put in is the yellow bottle (potion) that I also cut out last time.
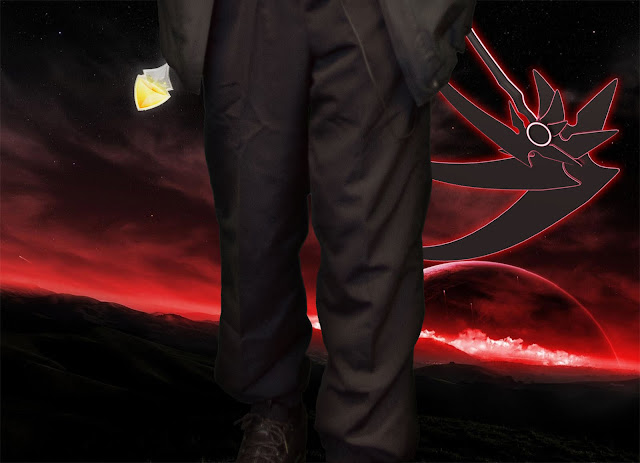
As you can see I have also added Outer glow to the bottle so it looks more magic and I had to use mask layer to get rid of some glow in some places using Brush using B shortcut and X to change between two pallets of colours with were black and white.

As you can see I have used colour more like gray and not yellow and thanks to that it gives the effect of very dark yellow that is going from darker to lighter colour, the distance also takes part in this illusion.
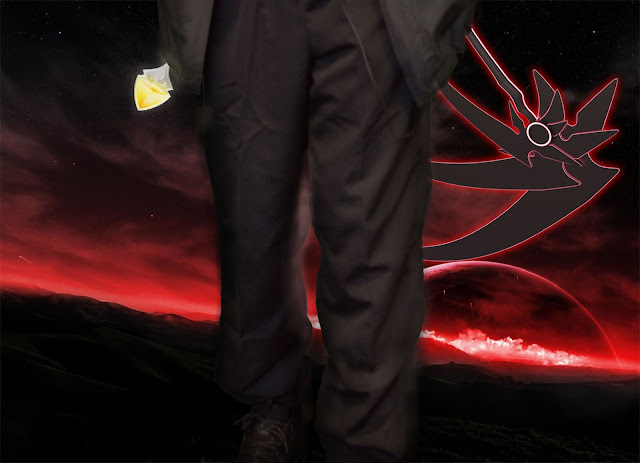
At the end I created new three layers using key shortcut Ctrl+Shift+N on the windows to add some colouring like glow from the bottle on my jacket and glow from scythe on my trousers and jacket. Or very light red on my right leg showing the light from the planet but it's not very well made yet but just for now. Also some of black on my trousers to increase the shadow a bit.

Second effect That will be used is Satin as I have noticed it make a shadow in given vector and object, it works similar to the gradient tool; because my character is going away from light then I should be more dark from the front than on the back and the corners of my body and clothes.

That's how it looks like after adding Satin effect, in my opinion it looks much better.
For a Satin effect there was a few options that were important for example the Invert was ticked so the light would go into me and my clothes and not from inside out. Opacity controls strengths of the shadow and the angle control from side the light should go in the most. Distance and size I just had to adjust them so it looks good.
Last effect is Inner Shadow that I have used for myself to get rid of green reflection on the corners of me from green screen.

I had to give quite high Opacity to make sure that there is no green or light reflection that looks unnatural.
Now it's time to start to put in objects into the picture. First object is going to be scythe to make the scythe more fantasy I will add effects: Outer glow and Color Overlay.

I used Color Overlay to make the scythe more reddish so it fits to the environment and as you can see above that Outer glow makes the scythe glowing all around it.
I tried to used red as little as possible on the scythe but still visible so after use of the outer glow it will not look too red.
Next object that I will put in is the yellow bottle (potion) that I also cut out last time.

As you can see I have also added Outer glow to the bottle so it looks more magic and I had to use mask layer to get rid of some glow in some places using Brush using B shortcut and X to change between two pallets of colours with were black and white.
As you can see I have used colour more like gray and not yellow and thanks to that it gives the effect of very dark yellow that is going from darker to lighter colour, the distance also takes part in this illusion.

At the end I created new three layers using key shortcut Ctrl+Shift+N on the windows to add some colouring like glow from the bottle on my jacket and glow from scythe on my trousers and jacket. Or very light red on my right leg showing the light from the planet but it's not very well made yet but just for now. Also some of black on my trousers to increase the shadow a bit.



Comments
Post a Comment